How to make banh mi rolls
If you want to make a banh mi sandwich from scratch, we've got you covered
A free daily email with the biggest news stories of the day – and the best features from TheWeek.com
You are now subscribed
Your newsletter sign-up was successful

Do you need to bake your own bread for legit banh mi? Absolutely not. Most Vietnamese cooks and many banh mi vendors buy their bread, but it is deeply satisfying and darn fun to make your own.
Years of pondering (and three months of daily baking), led me to this recipe for exceptional rolls. They have crisp exteriors and fluffy, chewy-tender interiors — the hallmarks of excellent Viet-Franco breads. Plus, they don't require special ingredients or equipment.
To make banh mi rolls, many Vietnamese bakers prepare fast-rising dough with wheat flour that contains a moderate protein level — what you'd use for cookies or Asian dumplings. The loftiness usually comes from dough improvers such as ascorbic acid and enzymes. My substitute for professional-grade dough improver is a combination of vital wheat gluten (VWG) and vitamin C, which I mix with unbleached all-purpose flour and instant (fast acting/rapid rise) yeast. A bit of salt and vegetable shortening further help the bread to be light and airy.
The Week
Escape your echo chamber. Get the facts behind the news, plus analysis from multiple perspectives.

Sign up for The Week's Free Newsletters
From our morning news briefing to a weekly Good News Newsletter, get the best of The Week delivered directly to your inbox.
From our morning news briefing to a weekly Good News Newsletter, get the best of The Week delivered directly to your inbox.
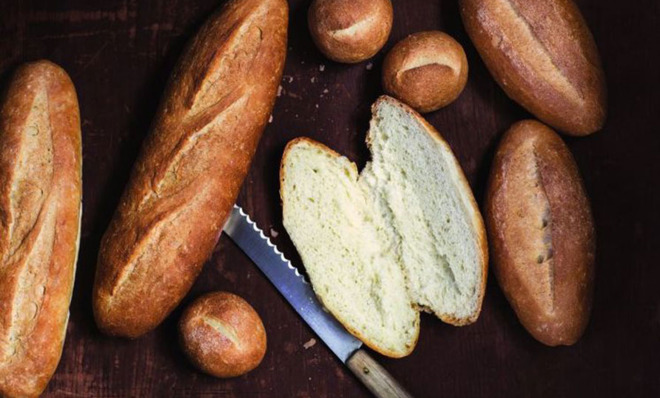
In this recipe, be precise and weigh the ingredients. For the vitamin C, empty a capsule or crush a tablet into a powder using a knife or mortar and pestle. After you've made these torpedo-shaped rolls and feel comfortable with the dough, make other shapes like in the photo above.
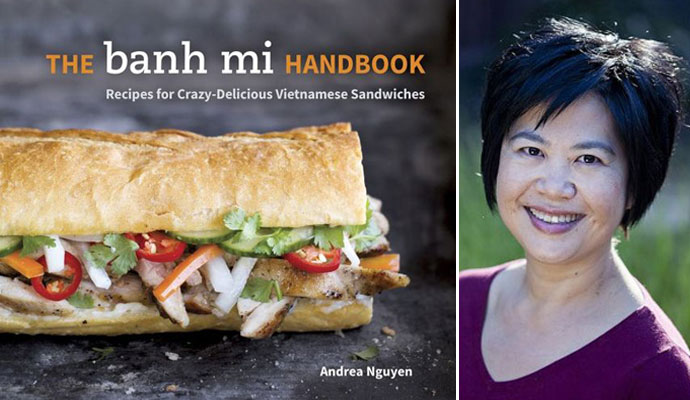
This recipe was slightly adapted from my book, The Banh Mi Handbook (Ten Speed Press, 2014).
Makes 6 rolls
A free daily email with the biggest news stories of the day – and the best features from TheWeek.com
500 milligrams vitamin C from a capsule or crushed tablet
1 teaspoon (0.2 ounces) fine sea salt (like La Baleine)
1 1/2 teaspoons (0.2 ounces) sugar
About 2 teaspoons (0.25 ounces; 1 envelope) instant dry yeast (SAF/Red Star and Flesichman's both work well)
2 tablespoons lightly packed (0.6 ounces) vital wheat gluten, plus more as needed (like Bob's Red Mill or Giusto's)
Scant 3 1/4 cups (3 cups plus 3 1/2 tablespoons; 16 ounces) unbleached all-purpose flour, plus more as needed (like Gold Medal or Whole Foods brand; if using King Arthur flour, reduce the amount of VWG to 4 teaspoons)
1 1/2 tablespoons (0.6 ounces) shortening, in 3 or 4 chunks, at room temperature (like Crisco, Earth Balance, or Spectrum)
1 1/4 cups (10 ounces) very warm tap water (about 110° F)
Mix and rise: Put the vitamin C, salt, sugar, yeast, vital wheat gluten (VWG), and flour in the bowl of a heavy-duty stand mixer. With the paddle attachment in place, mix on the lowest speed for one minute, adding the shortening midway. Stop to add water. Restart on the lowest speed and continue mixing for about one minute to form a shaggy ball. Let sit for five minutes, uncovered, to hydrate. Lightly oil a bowl for rising the dough. Set aside.
Pull the dough off the paddle, attach the dough hook, and mix on medium-low (speed two on a KitchenAid) for two minutes, until smooth and medium-firm. The dough should wrap around the hook in the last 30 seconds. If the dough is soft and wraps around the hook early on, add one to two teaspoons of VWG to stiffen and build structure.
Transfer the dough to an unfloured work surface and briefly knead it into a ball. If the dough feels soft and moist (think perspiration on a humid day), lightly dust the work surface with flour and knead it in. The finished dough should be barely tacky; when you lightly press a finger into the dough, it should bounce back immediately yet a shallow indentation should remain. Put it into the oiled bowl, turn to coat, then tightly cover with plastic wrap. Set it in a warm spot to rise for 45 minutes, or until it doubles in volume.
Cut, round, and shape: Uncover the bowl and set the plastic wrap aside to reuse later. Invert the dough onto your work surface. Cut the dough in half. Form each half into a brick shape, then cut crosswise into three pieces to yield six pieces total.
To round each dough piece, use both hands to cup it, then pull, tuck, and gather the edges toward the center to form a small mound. Aim to create a taut outer surface. Put the mound, seam side down, on your work surface, then loosely cover with the saved plastic. Let the balls rest and rise for 10 minutes. Line a heavy-duty rimmed baking sheet (I use a half sheet pan) with parchment paper. Set aside.
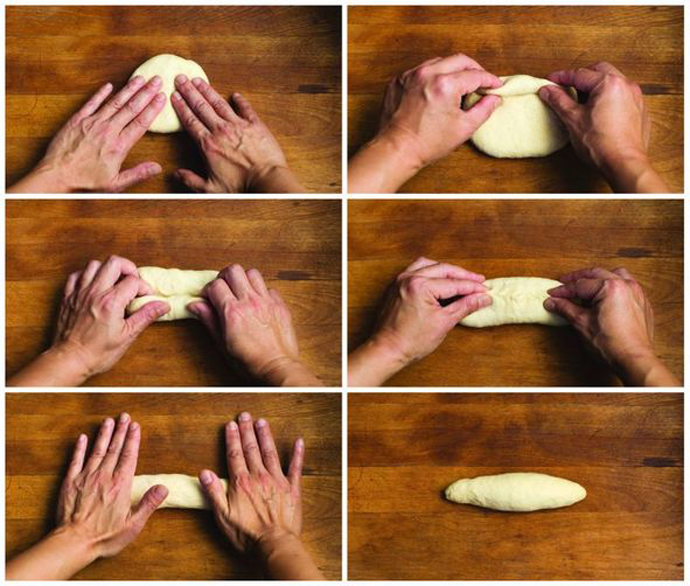
Uncover the mounds and save the plastic (you'll need it again). To shape each roll, put the dough smooth side-down on your work surface. Press and pat it into a big thick disk, about 4 1/4 inches wide and 5/8 inch thick.
Imagine a scroll that rolls inward from the top and bottom. Roll the top down and over twice, pressing each time to seal well. When done, the top should be rolled to the midline. Roll the bottom up and over twice, sealing well each time. Firmly pinch the top and bottom together to form a center seam and create surface tension. Pinch the ends to seal.
Gently roll and rock the dough back and forth to form a torpedo about 6 1/2 inches long and 1 3/4 inches wide at its center. Place the roll, seam side-down, on the lined baking sheet. Repeat, arranging the rolls in a 3-by-2 formation on the prepared baking sheet.
Proof and bake: Smear a little oil (or use nonstick spray) on two pieces of plastic wrap (use the saved one plus a new piece), then use them to loosely cover the rolls. Let them rise until more than doubled, close to a full rise, which will take about one hour at moderate room temperature. If it's a hot day, preheat the oven after shaping the rolls.
Monitor the rolls via these benchmarks:
- After 20 minutes of rising, or when most rolls are two inches wide, set up the oven for baking. Place a broiler pan or a heavy-duty rimmed baking sheet on the oven floor, its rim positioned near the oven edge (you'll be pouring hot water into this pan). Put a rack in one of the lower positions, about five inches from the water pan, to safely pour water into the pan later. Place a baking stone (or an inverted heavy-duty rimmed baking sheet) on the rack. Preheat to 475° F.
- At 45 minutes, or when the rolls have nearly doubled, remove the plastic wrap. Let the rolls dry and finish rising for 10 to 15 minutes. Meanwhile, bring some water (about 1 cup) to a boil, then lower the heat to keep it hot. Find a 1-quart measuring cup or similar vessel — you'll use it later to pour hot water into the pan in the oven. Partially fill a spray bottle with water. Set aside.
- Around the 1 hour mark, or when the rolls are porpoise-like and 2 1/2 to 2 3/4 inches at the middle, it's time to bake. Pour a good 1⁄2 cup of hot water into the pouring vessel. Set near the stove.
To slash each roll, hold a sharp knife nearly horizontal to the roll surface and make one angled cut on the midline. Mist the rolls five or six times with the spray bottle of water. Slide the baking sheet onto the stone or invetred sheet, carefully pour the hot water into the pan that's on the oven floor, then close the door. Lower the heat to 425° F and bake for 22 to 24 minutes, or until golden brown and hollow sounding (check by thumping the bottom crust).
When the rolls are light golden, usually after baking for 15 minutes, rotate the pan and/or shift the rolls to expose them equally to the oven temperature variation. (If the rolls achieve that color after baking for only 10 minutes, lower the temperature to 400° F.)
When done, turn the oven off. Let the rolls further crisp and brown in the oven for 8 to 10 minutes. Remove the rolls from the oven and let them cool on a rack for about 45 minutes before eating. The sides will slightly soften. If the rolls are a little flat, don't fret because you'll be filling them to a beautiful plumpness. Use the rolls as is, or reheat them to achieve a shattering crispness, like I do in my master banh mi recipe.
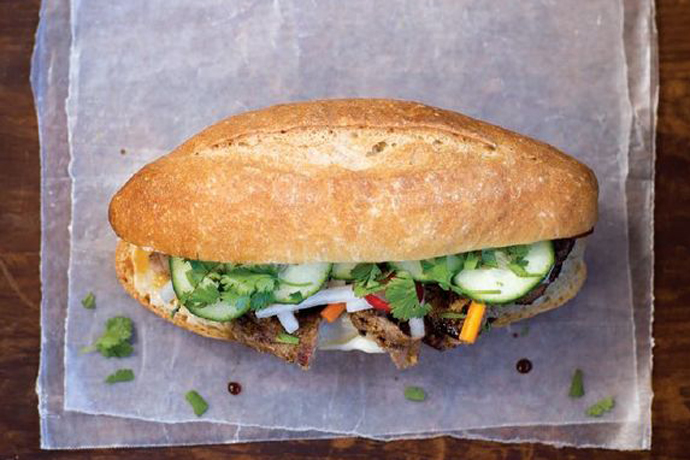
See the full recipe for the banh mi rolls here, then use them to make a master banh mi sandwich.
This story was originally published on Food52.com: How to make banh mi rolls (and build a banh mi sandwich)
More from Food52...
-
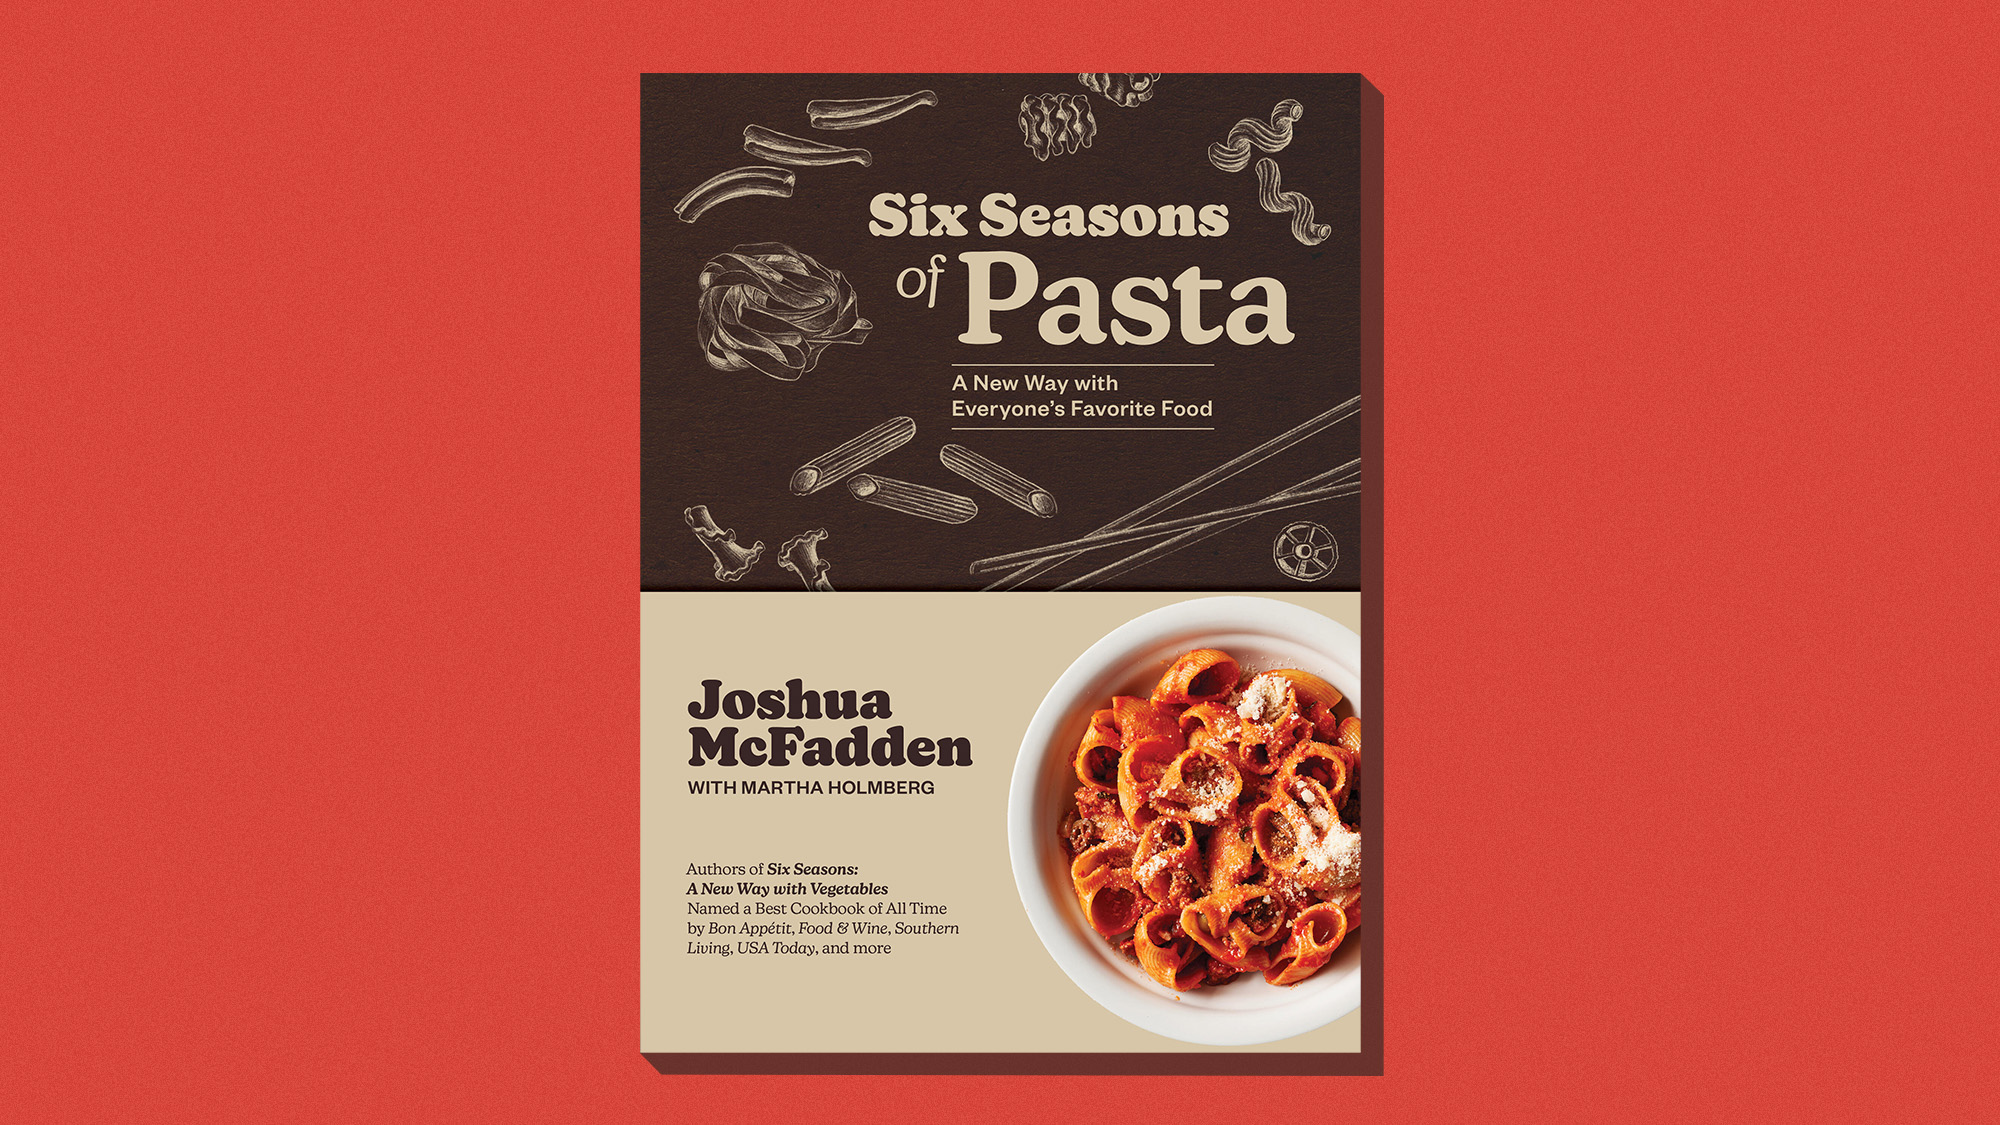 One great cookbook: Joshua McFadden’s ‘Six Seasons of Pasta’
the week recommends The pasta you know and love. But ever so much better.
-
 Scientists are worried about amoebas
Under the radar Small and very mighty
-
 Buddhist monks’ US walk for peace
Under the Radar Crowds have turned out on the roads from California to Washington and ‘millions are finding hope in their journey’